Most of my recent work on CashCat has been working on the web version, the Next.js app deployed at cashcat.app. Because we’re focusing on a web-first outlook, this has meant super-fast deployments, easy iterations, and fast development, without any reviewers or gatekeepers in our way. In the modern age, with agentic coding and such rapid progressions in technology, this is vital.
To use CashCat on mobile, for quick transaction adding, I originally added PWA (Progressive Web App) support. You may have seen this before it’s when you visit a website on your phone, and it prompts you to add it to your home screen. It’s supported on both Android and iOS, and most major browsers (Firefox, Chrome, etc.). As far as I was concerned, it worked flawlessly, and I used it daily.
But of course, I know that any app which takes itself seriously should have a presence in both the Google Play Store and the Apple App Store. Telling somebody, “No, we do have an Android app, you just have to go to the website, click the three dots, click ‘Add to home screen,’ and then look, it works!” is embarrassing. It’s not the experience I want to offer.
Not only that, but the offline capabilities of PWAs - even with service workers and aggressive localStorage and indexedDb caching - are severely limited compared to a native shell.
So, after the MVP of CashCat was shipped to the web, we began exploring the options available to us for mobile apps.
Why not React Native?
At first, we looked into React Native. As the web build is a Next.js app (where the frontend is React), this seemed like the logical next step. However, it quickly became clear that the amount of effort it would take to convert our entire framework into native components would be disproportionate. We wanted to reuse logic, not rewrite UI.
We quickly began searching for easier and more purpose-built alternatives, looking at tools like Expo and PWABuilder.
Capacitor Saved the Day
Eventually, I spotted Capacitor being mentioned in a thread on Reddit. Apparently, it worked perfectly for Next.js apps. The core strategy was simply to wrap your app, with little to no rewriting.
By choosing Capacitor, we decided to wrap the existing Next.js code. This allowed us to save massive amounts of time by reusing our existing TanStack Query logic (which we used for aggressive caching into localStorage) instead of rewriting the UI in native components. We adopted a “Single Codebase” philosophy, configuring the project to deploy to both Web (Vercel) and Mobile (Google Play) from the exact same git repository.
With Capacitor, you can use Ionic if you want their material UI library, or simply stick with your original web code. We chose the latter.
Here is how we actually pulled it off.
1. The Next.js Config Shift
The first hurdle was getting Next.js to output something a mobile phone understands. Phones don’t run Node.js servers, so standard server-side rendering (SSR) was out.
- Static Export: We switched Next.js to
output: 'export'mode. This generates the static HTML/CSS/JS files required by Capacitor. - Image Optimization: We had to disable standard Next.js Image Optimization (
unoptimized: true) because, again, there is no Node.js server on the phone to process and resize images on the fly. - Conditional Logic: We didn’t want to lose these features on our web deployment. We updated
next.config.jsto only apply these static settings whenprocess.env.CAPACITOR_BUILDis true.
2. The Backend Disconnect (The Biggest Challenge)
This was the tricky part. We quickly realized that Next.js API Routes (/api/...) and Server Actions ('use server') crash the mobile build.
To fix this, I had to spend a couple hours trawling through each element.
- The URL Fix: We updated our fetch requests to use absolute URLs pointing to our live production domain, rather than relative paths.
- The Refactor: We converted Server Actions into standard client-side fetches (using TanStack Query) to communicate with the remote API.
- Component Stubbing: We created a “swap” mechanism for our
ApiKeyManagercomponent, completely removing it from the mobile build since it was only needed on the web server.
But the real “hack” was handling the folder structure. Even with the config changes, Next.js tries to compile server code found in the api folder. We implemented a strategy to rename and hide the src/app/api folder during the mobile build process specifically to prevent Next.js from trying to touch it. I wanted to have a headache-free build process, and npm’s build scripts allowed me to create this easily.
3. Automation: The build:mobile Script
Because the process involved renaming folders and swapping components, doing it manually was a recipe for disaster. I wrote a custom script, scripts/build-mobile.js (using shelljs), to automate this fragile process.
The script performs the following gymnastics:
- Renames/Hides the API folder.
- Stubs out incompatible components.
- Runs
next buildwith the correct environment variables. - Restores the API folder and components (so I don’t break the web version while developing).
- Runs
npx cap sync.
I added this to my package.json so I can now run a single command:
npm run build:mobile
build-mobile.js

const shell = require('shelljs');

// Config paths
const API_DIR = 'src/app/api';
const API_HIDDEN = 'src/app/_api_ignored';
const COMPONENT_FILE = 'src/app/components/api-key-manager.tsx';
const COMPONENT_BACKUP = 'src/app/components/api-key-manager.tsx.bak';

console.log('Preparing for Mobile Build...');

// We use this to fix the files whether the build succeeds OR fails
function restoreFiles() {
  console.log('Restoring original files...');

  // 1. Restore API folder
  if (shell.test('-d', API_HIDDEN)) {
    shell.mv(API_HIDDEN, API_DIR);
  }

  // 2. Restore Component
  if (shell.test('-f', COMPONENT_BACKUP)) {
    // Delete the dummy stub we created
    if (shell.test('-f', COMPONENT_FILE)) {
      shell.rm(COMPONENT_FILE);
    }
    // Bring back the original code
    shell.mv(COMPONENT_BACKUP, COMPONENT_FILE);
  }
}

console.log('Hiding API routes...');
if (shell.test('-d', API_DIR)) {
  shell.mv(API_DIR, API_HIDDEN);
}

console.log('Swapping ApiKeyManager with a dummy stub...');
if (shell.test('-f', COMPONENT_FILE)) {
  // Backup the real file
  shell.mv(COMPONENT_FILE, COMPONENT_BACKUP);

  shell.ShellString(`
    export default function ApiKeyManager() {
      return null;
    }
  `).to(COMPONENT_FILE);
} else {
}

console.log('Building static export...');
// Run the build
if (shell.exec('CAPACITOR_BUILD=true npm run build').code !== 0) {
  console.error('Build failed! Restoring files immediately...');
  restoreFiles(); // <--- Critical: Fix files before exiting
  shell.exit(1);
}

restoreFiles();

console.log('Syncing with Android/iOS...');
shell.exec('npx cap sync');

console.log('Mobile build complete!');
4. Capacitor & Android Setup
Once the code was built, we had to get it running on Android. I installed the Capacitor core and Android platform (npx cap init) and ran into a few environment issues immediately.
I had to fix capacitor.config.ts to point webDir to the out folder (the result of our static export) instead of the default public.
Development on Linux also threw a curveball. I kept getting an “Unable to launch Android Studio” error, which I fixed by finally resetting the CAPACITOR_ANDROID_STUDIO_PATH environment variable in my Fish shell config. I also had to manually download the Gradle distribution zip to solve some nasty connection timeouts in Android Studio.
5. Native Polish for the UI
A wrapped website often feels like… just a website. To make CashCat feel like a native app, we had to apply some specific UI polish:
- The Notch Fix: I added
viewport-fit=coverto the metadata and appliedenv(safe-area-inset-top)padding. This prevents our content from hiding behind the status bar or the camera notch. - Scroll Bounce: There is nothing that screams “website” more than rubber-banding when you scroll to the top of a page. I added
overscroll-behavior: noneto the CSS (and the iOS config) to attempt to stop this. It sometimes works, sometimes doesn’t. - Zoom Disable: I locked the viewport scale and set input font sizes to 16px. This stops the OS from zooming in automatically every time you tap a text box.
- The “Traffic Cop”: I added redirect logic in
page.tsxthat acts as a traffic cop. If a user is on mobile, it automatically skips the Landing Page (/) and sends them straight to the Dashboard (/budget).
6. Deployment
We configured .gitignore to track the android/ shell (for permissions and icons) but ignore the heavy build artifacts like android/app/build and out/.
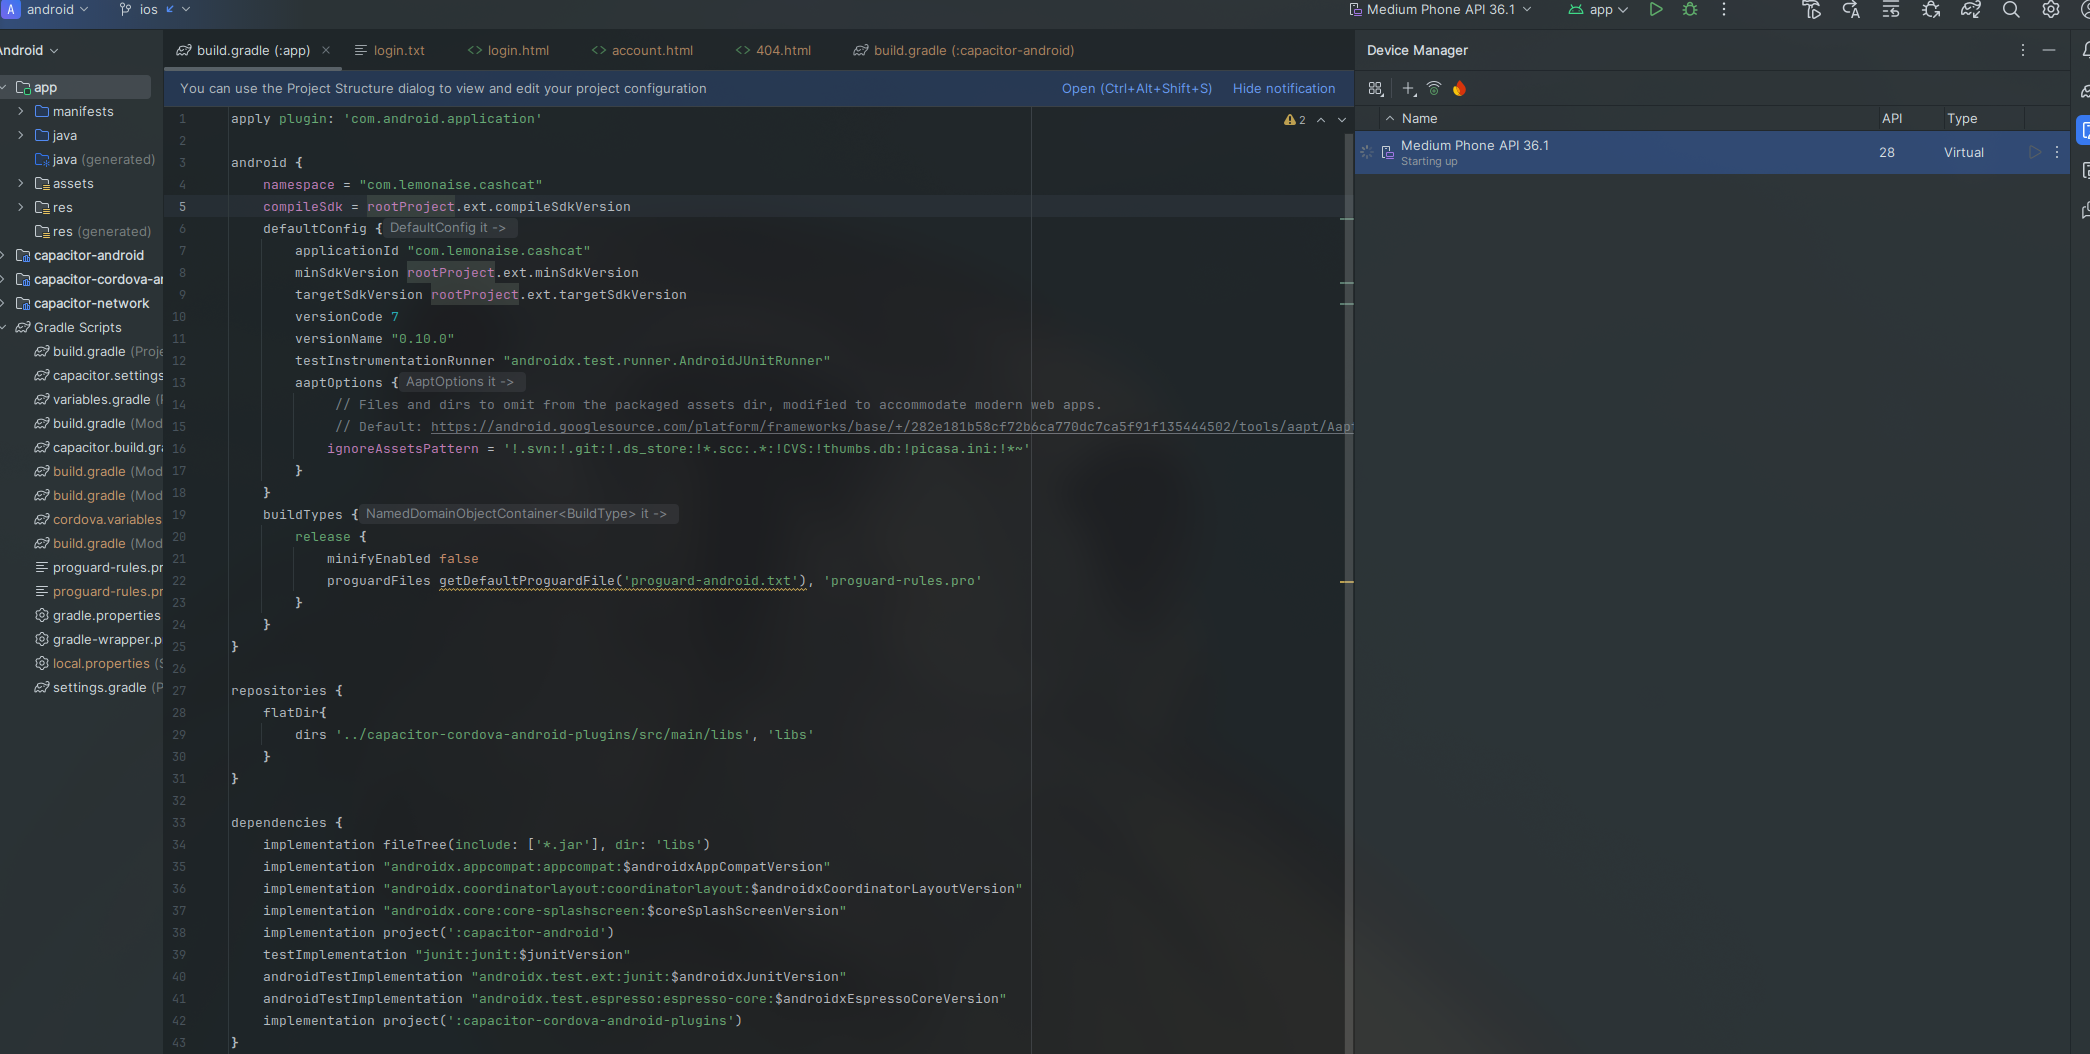
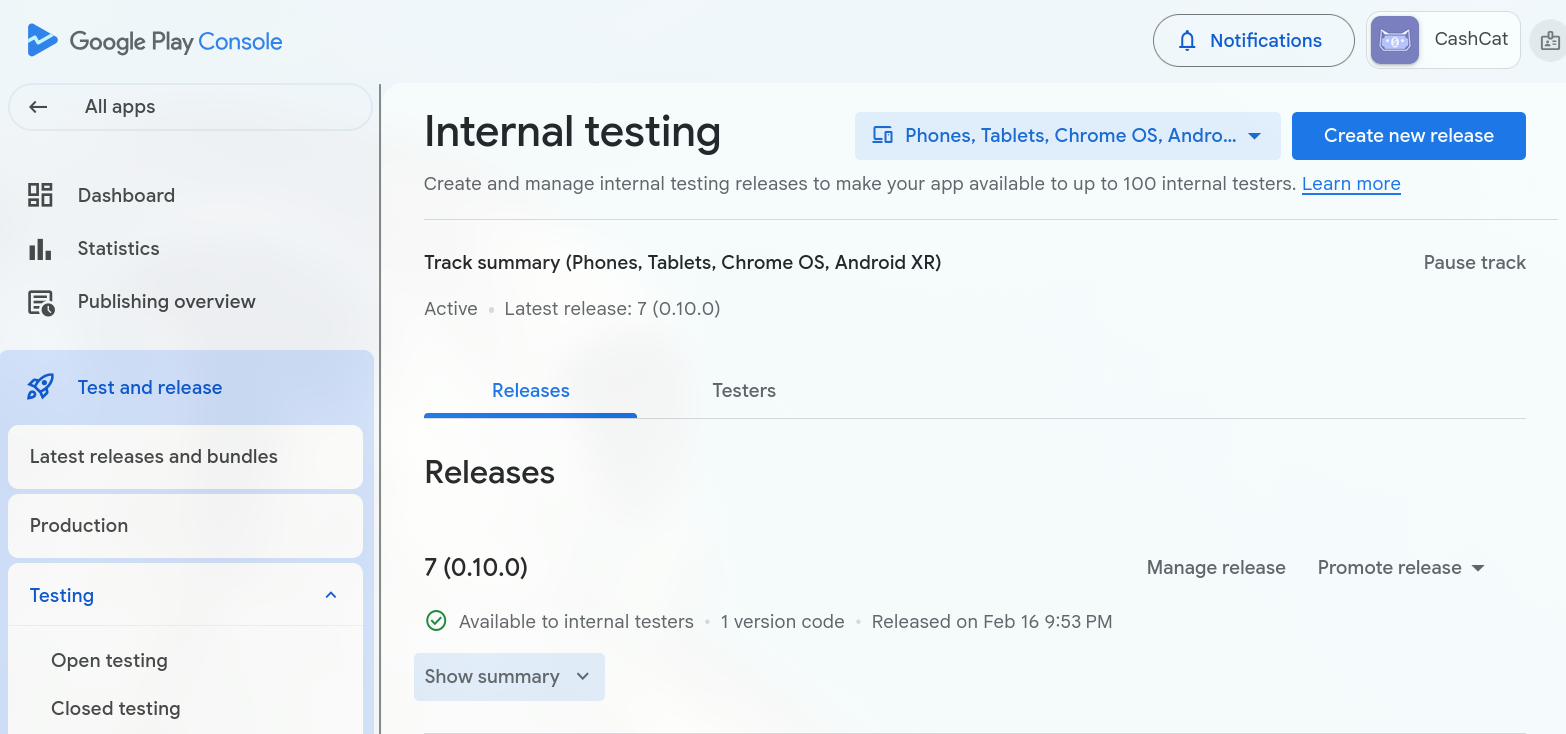
For the Play Store, I signed up for the Google Play Console. It cost about £25 as a one-off fee. Totally worth it. I also learned that for every upload, you have to manually increment the versionCode integer in build.gradle, or Google rejects the build.
We are currently using the “Internal Testing” track. We generate a signed App Bundle (.aab), upload it, and use the generic “Join on Web” link to install it on our physical devices.
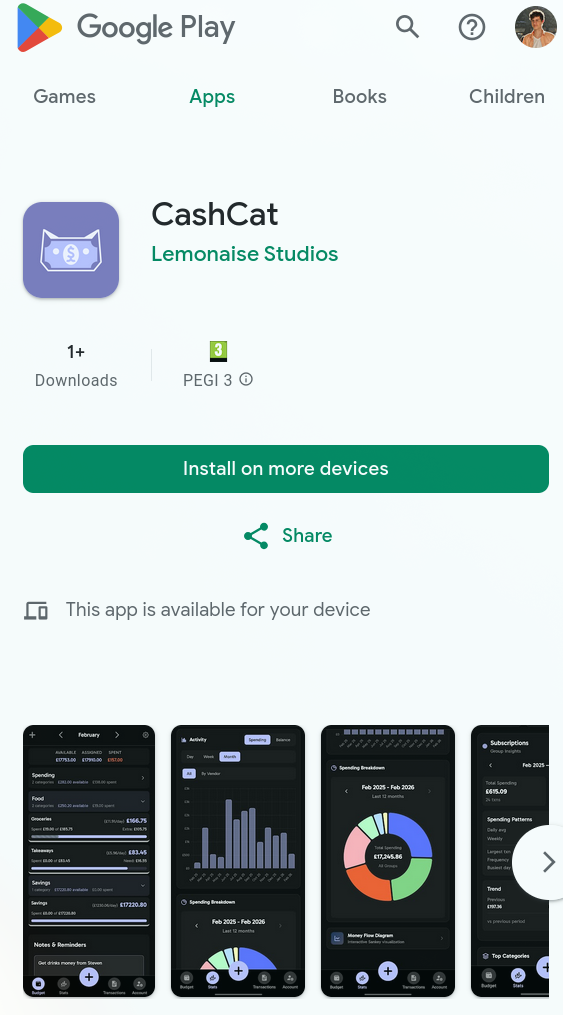
We even have a draft of a Google Play Store page:
I’ve just begun Closed Testing (if you’d like to join, please email me at cashcat@indigonolan.com and I’ll give you access!)
What about iOS?
While I handled the Android side, my co-maintainer Josh has been tackling the iOS version. The barrier to entry is higher there - the Apple Developer Program is around $99/year - but for the sake of covering the whole mobile market, it’s worth it. I have fewer updates from his side, and I’d direct you to his own blog anyway.
We are nearly there. The web-first approach allowed us to move fast, and Capacitor allowed us to go native without losing our minds.
If you’re interested in trying out CashCat, and you have an Android or iOS device, go sign up on the website, join our discord, or email me at cashcat@indigonolan.com to get added to our app tests!